Photo by Dan Krueger
Jump to recipe

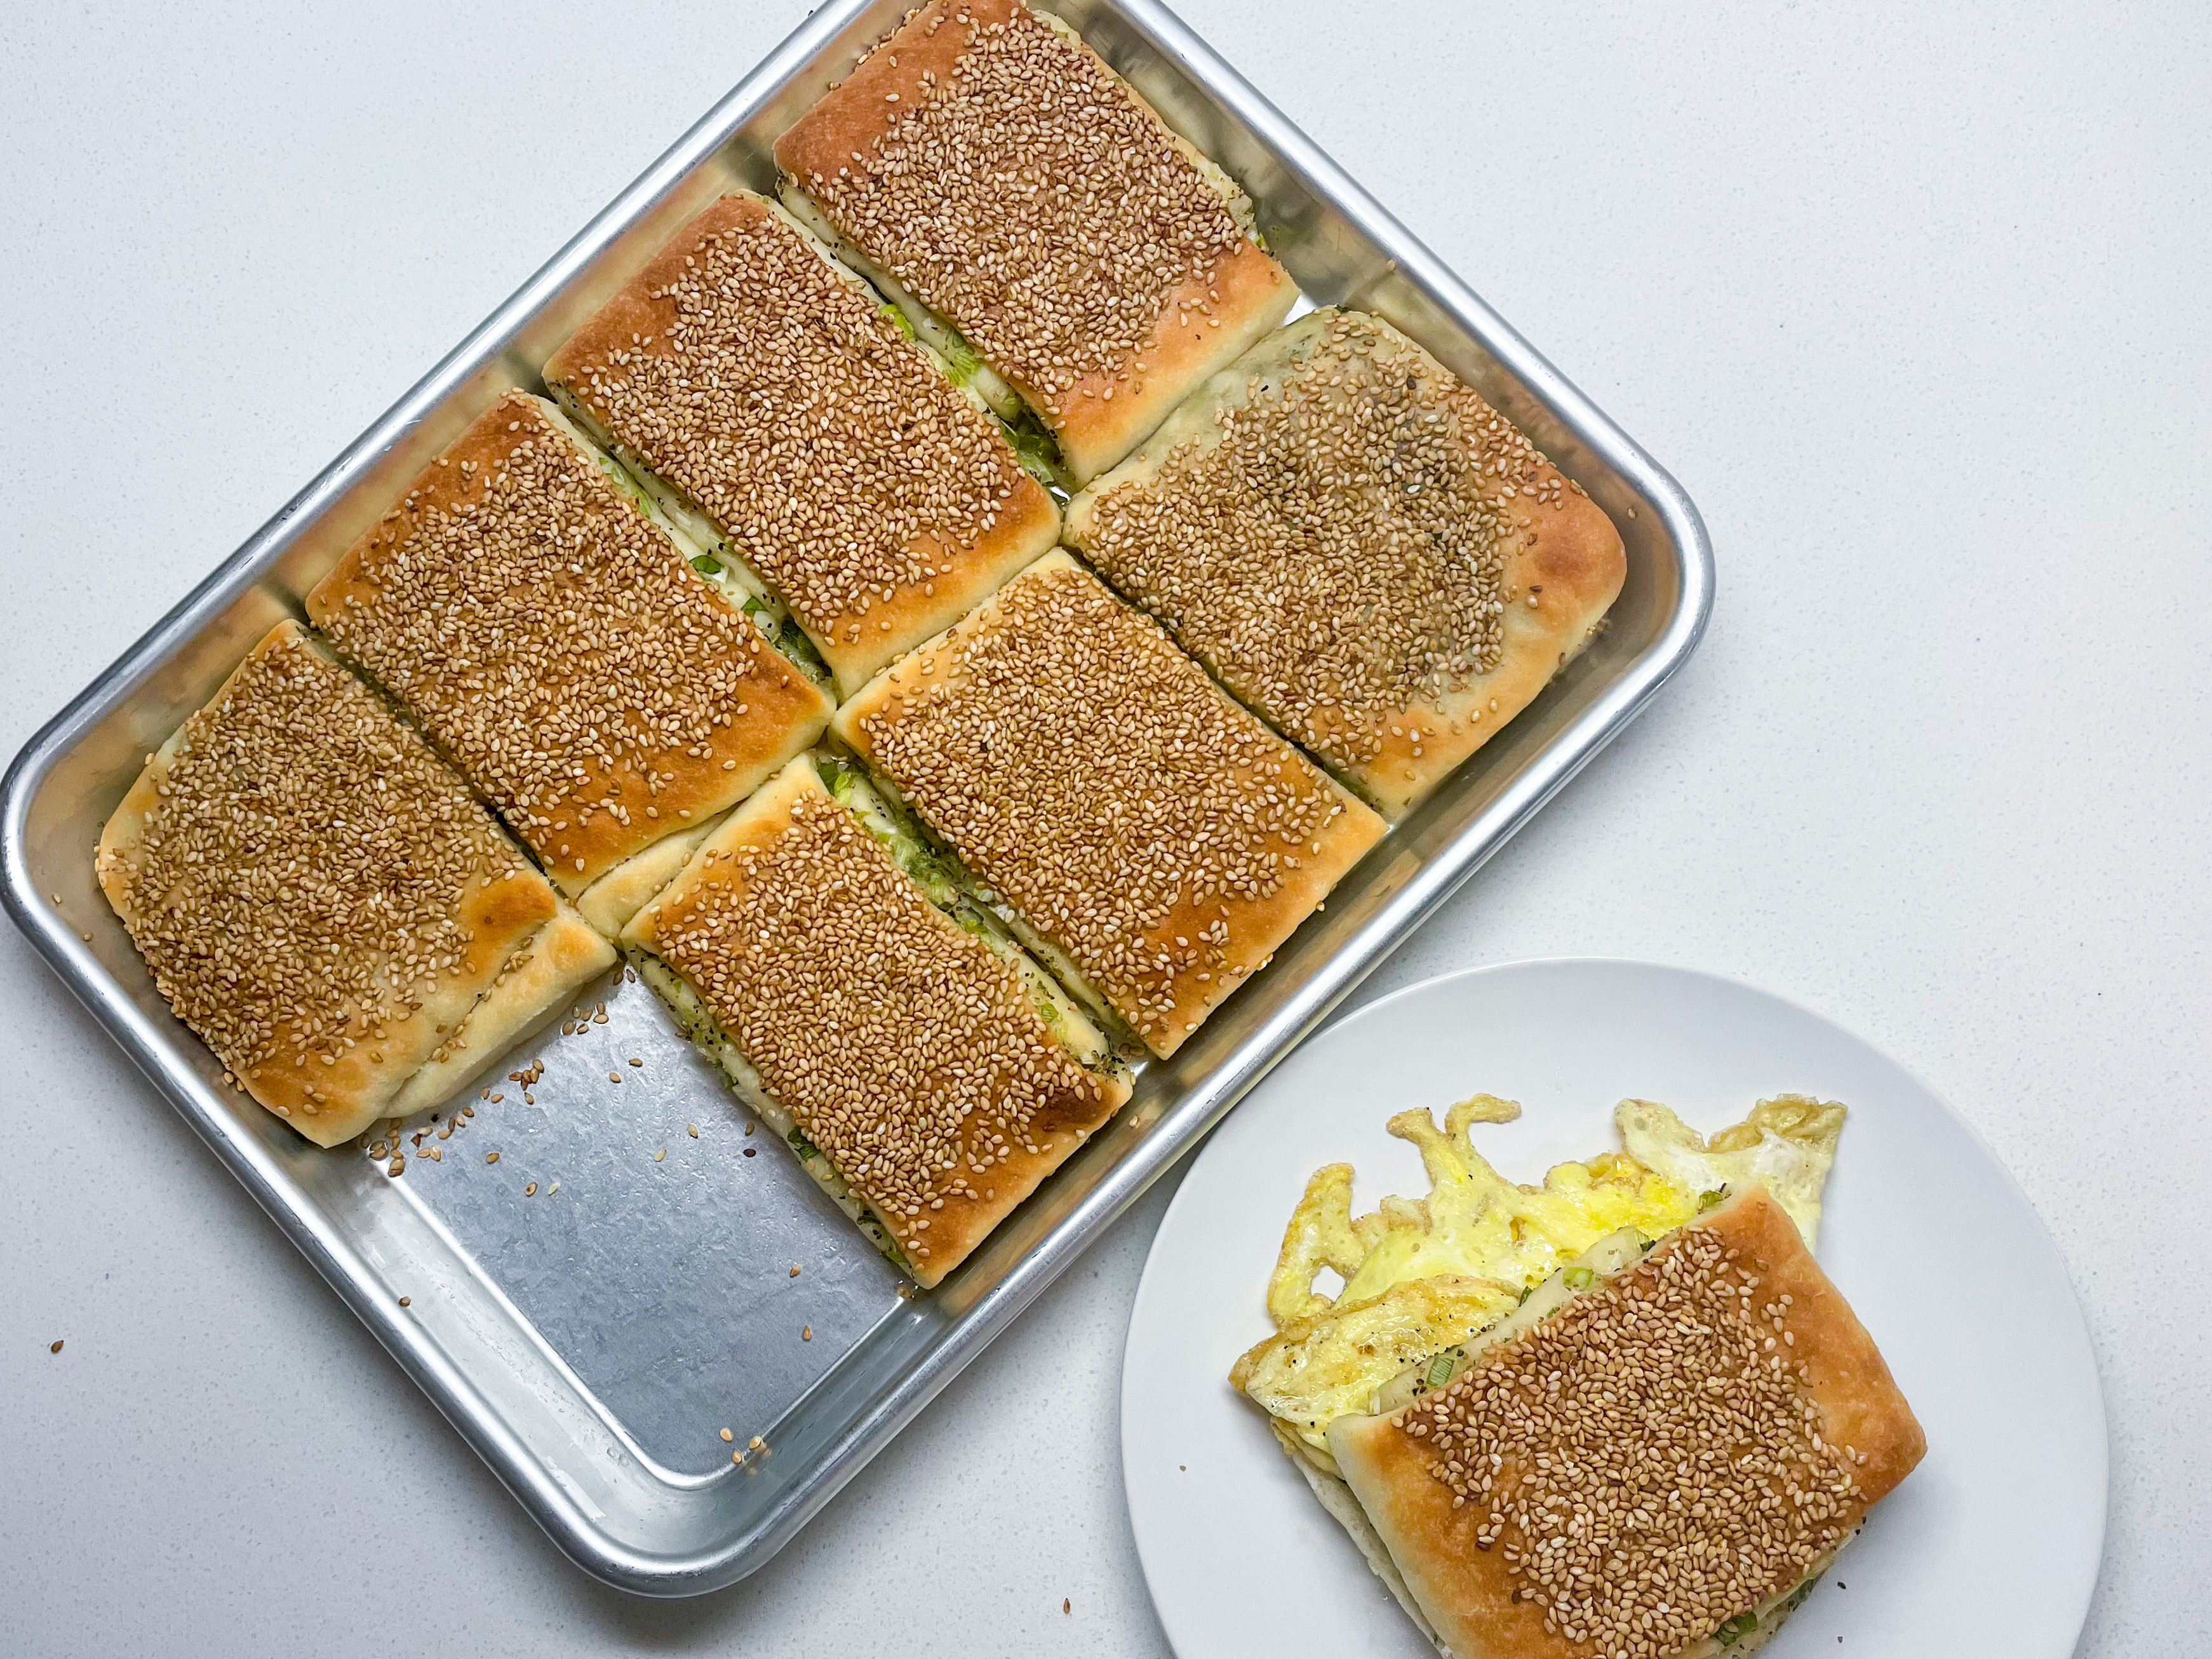
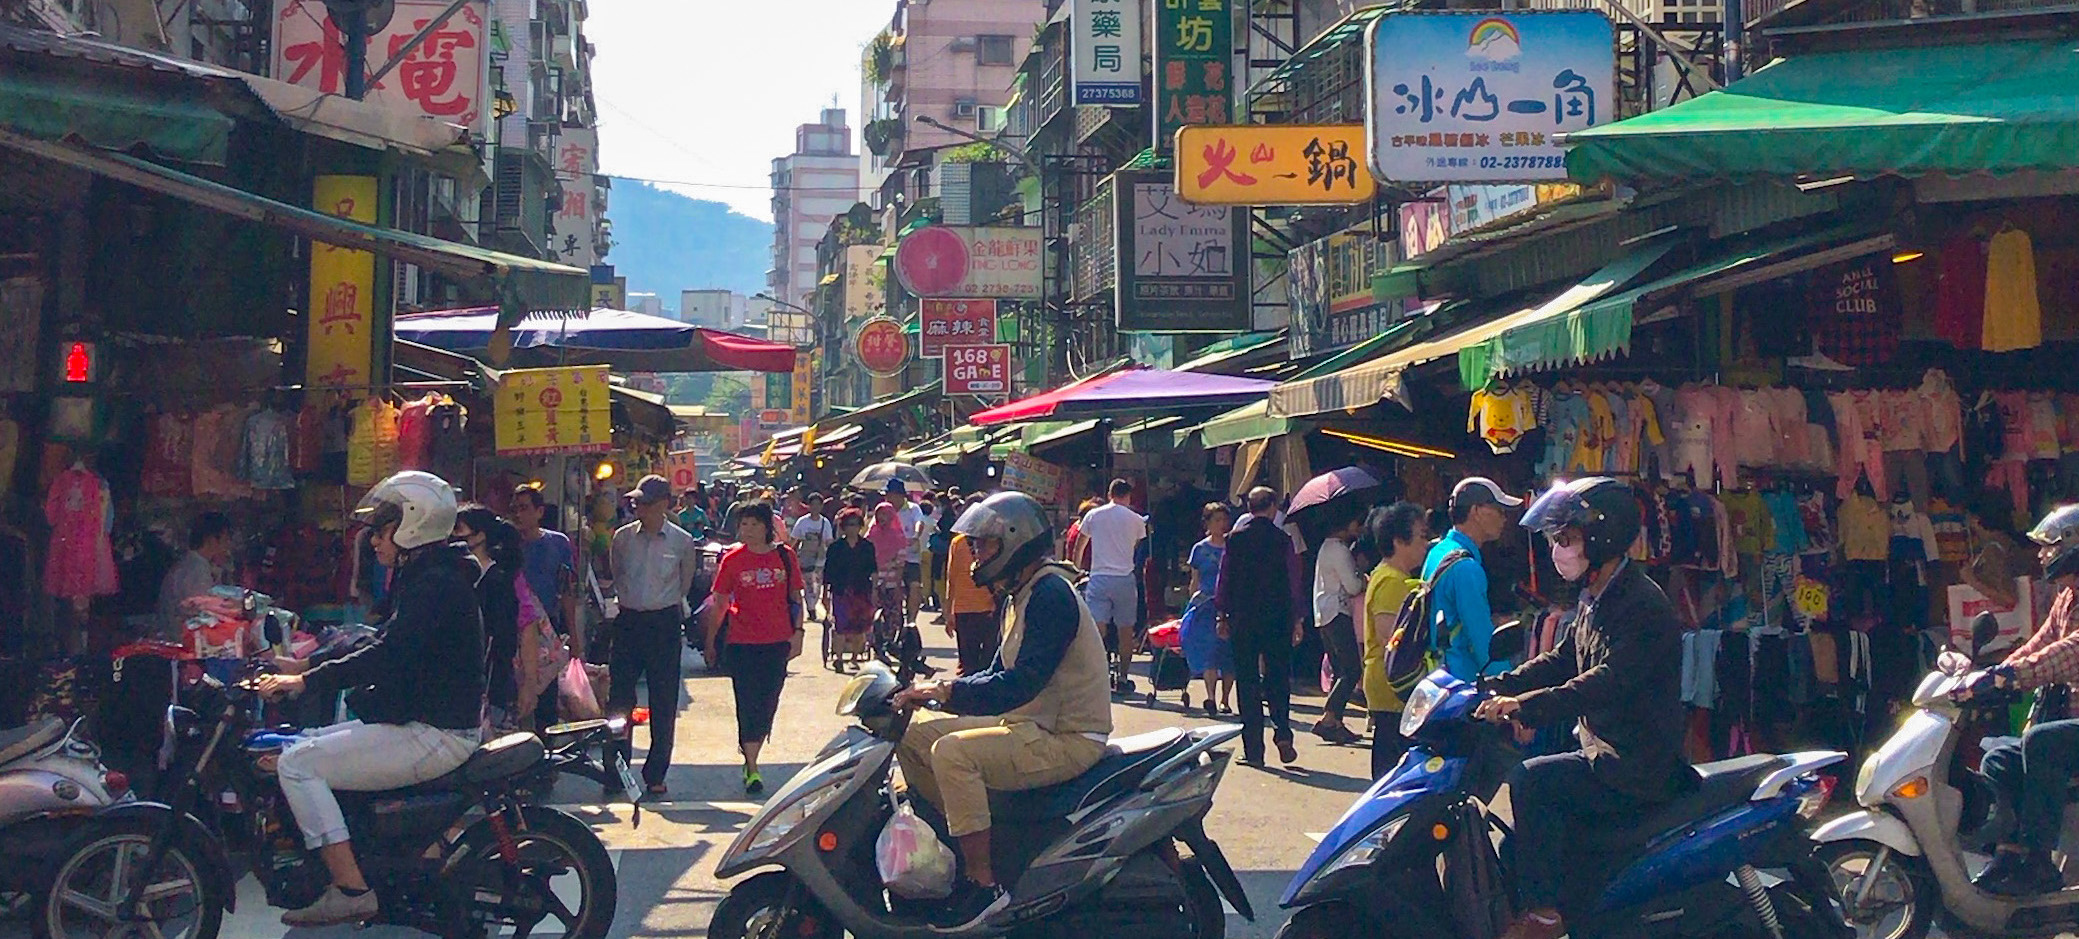
Around the corner from my grandmother’s place in Taipei is a typical breakfast joint. Open for just the morning, it serves up standard fare like fresh soy milk with youtiao. It is fast and cheap for the busy commuter. There are hundreds of Taiwanese breakfast places like it scattered throughout the capital, with even more food carts parked in alleyways and corners, all ready to feed the waking city. Every time I visit, I always order a hujiao bing: a leavened roll, layered with green onion and black pepper. It’s greasy, crispy, and soft—the perfect vehicle for a fried egg.

In the spring of 2020, as the horizon of the pandemic slid from weeks to months to the indefinite future, I decided to recreate this bing in my apartment kitchen. There is, after all, a nostalgic reassurance in the overlap of stress baking and comfort food. Yet when I searched for a recipe online, I found nothing. Instead, I got page after page about another bing of the exact same name. For other people, hujiao bing means spiced pork buns at night markets with family. And damn, these bing looked pretty good: Pulled freshly out of a clay oven, a bite yields succulent filling and a piping hot crust. From Buzzfeed Video to Anthony Bourdain, people were starting to notice, and the internet was awash in praise for these food stalls tucked under the neon signs of the Raohe Night Market.

Yet my own breakfast bing, the hujiao bing that I remembered, was nowhere to be found. How do you recreate a dish when all you have is your own memory and a name that points to someone else’s nostalgia?

The duo of sesame and scallions constantly echoes throughout Chinese regional baking, whether in the ubiquitous scallion pancake or the sesame da bing of Muslim Mandarin food. Any combination of “green onion,” “bing,” and “rolls” yields a surprising variety of videos on YouTube, as if the algorithm is procedurally generating scallion-based bings. The landscape of bing could be as big or little, flaky or tender, crispy or chewy as I wanted. Bing is not a discrete dish but a spectrum, and mine was just a dot in this space of textures and memories.

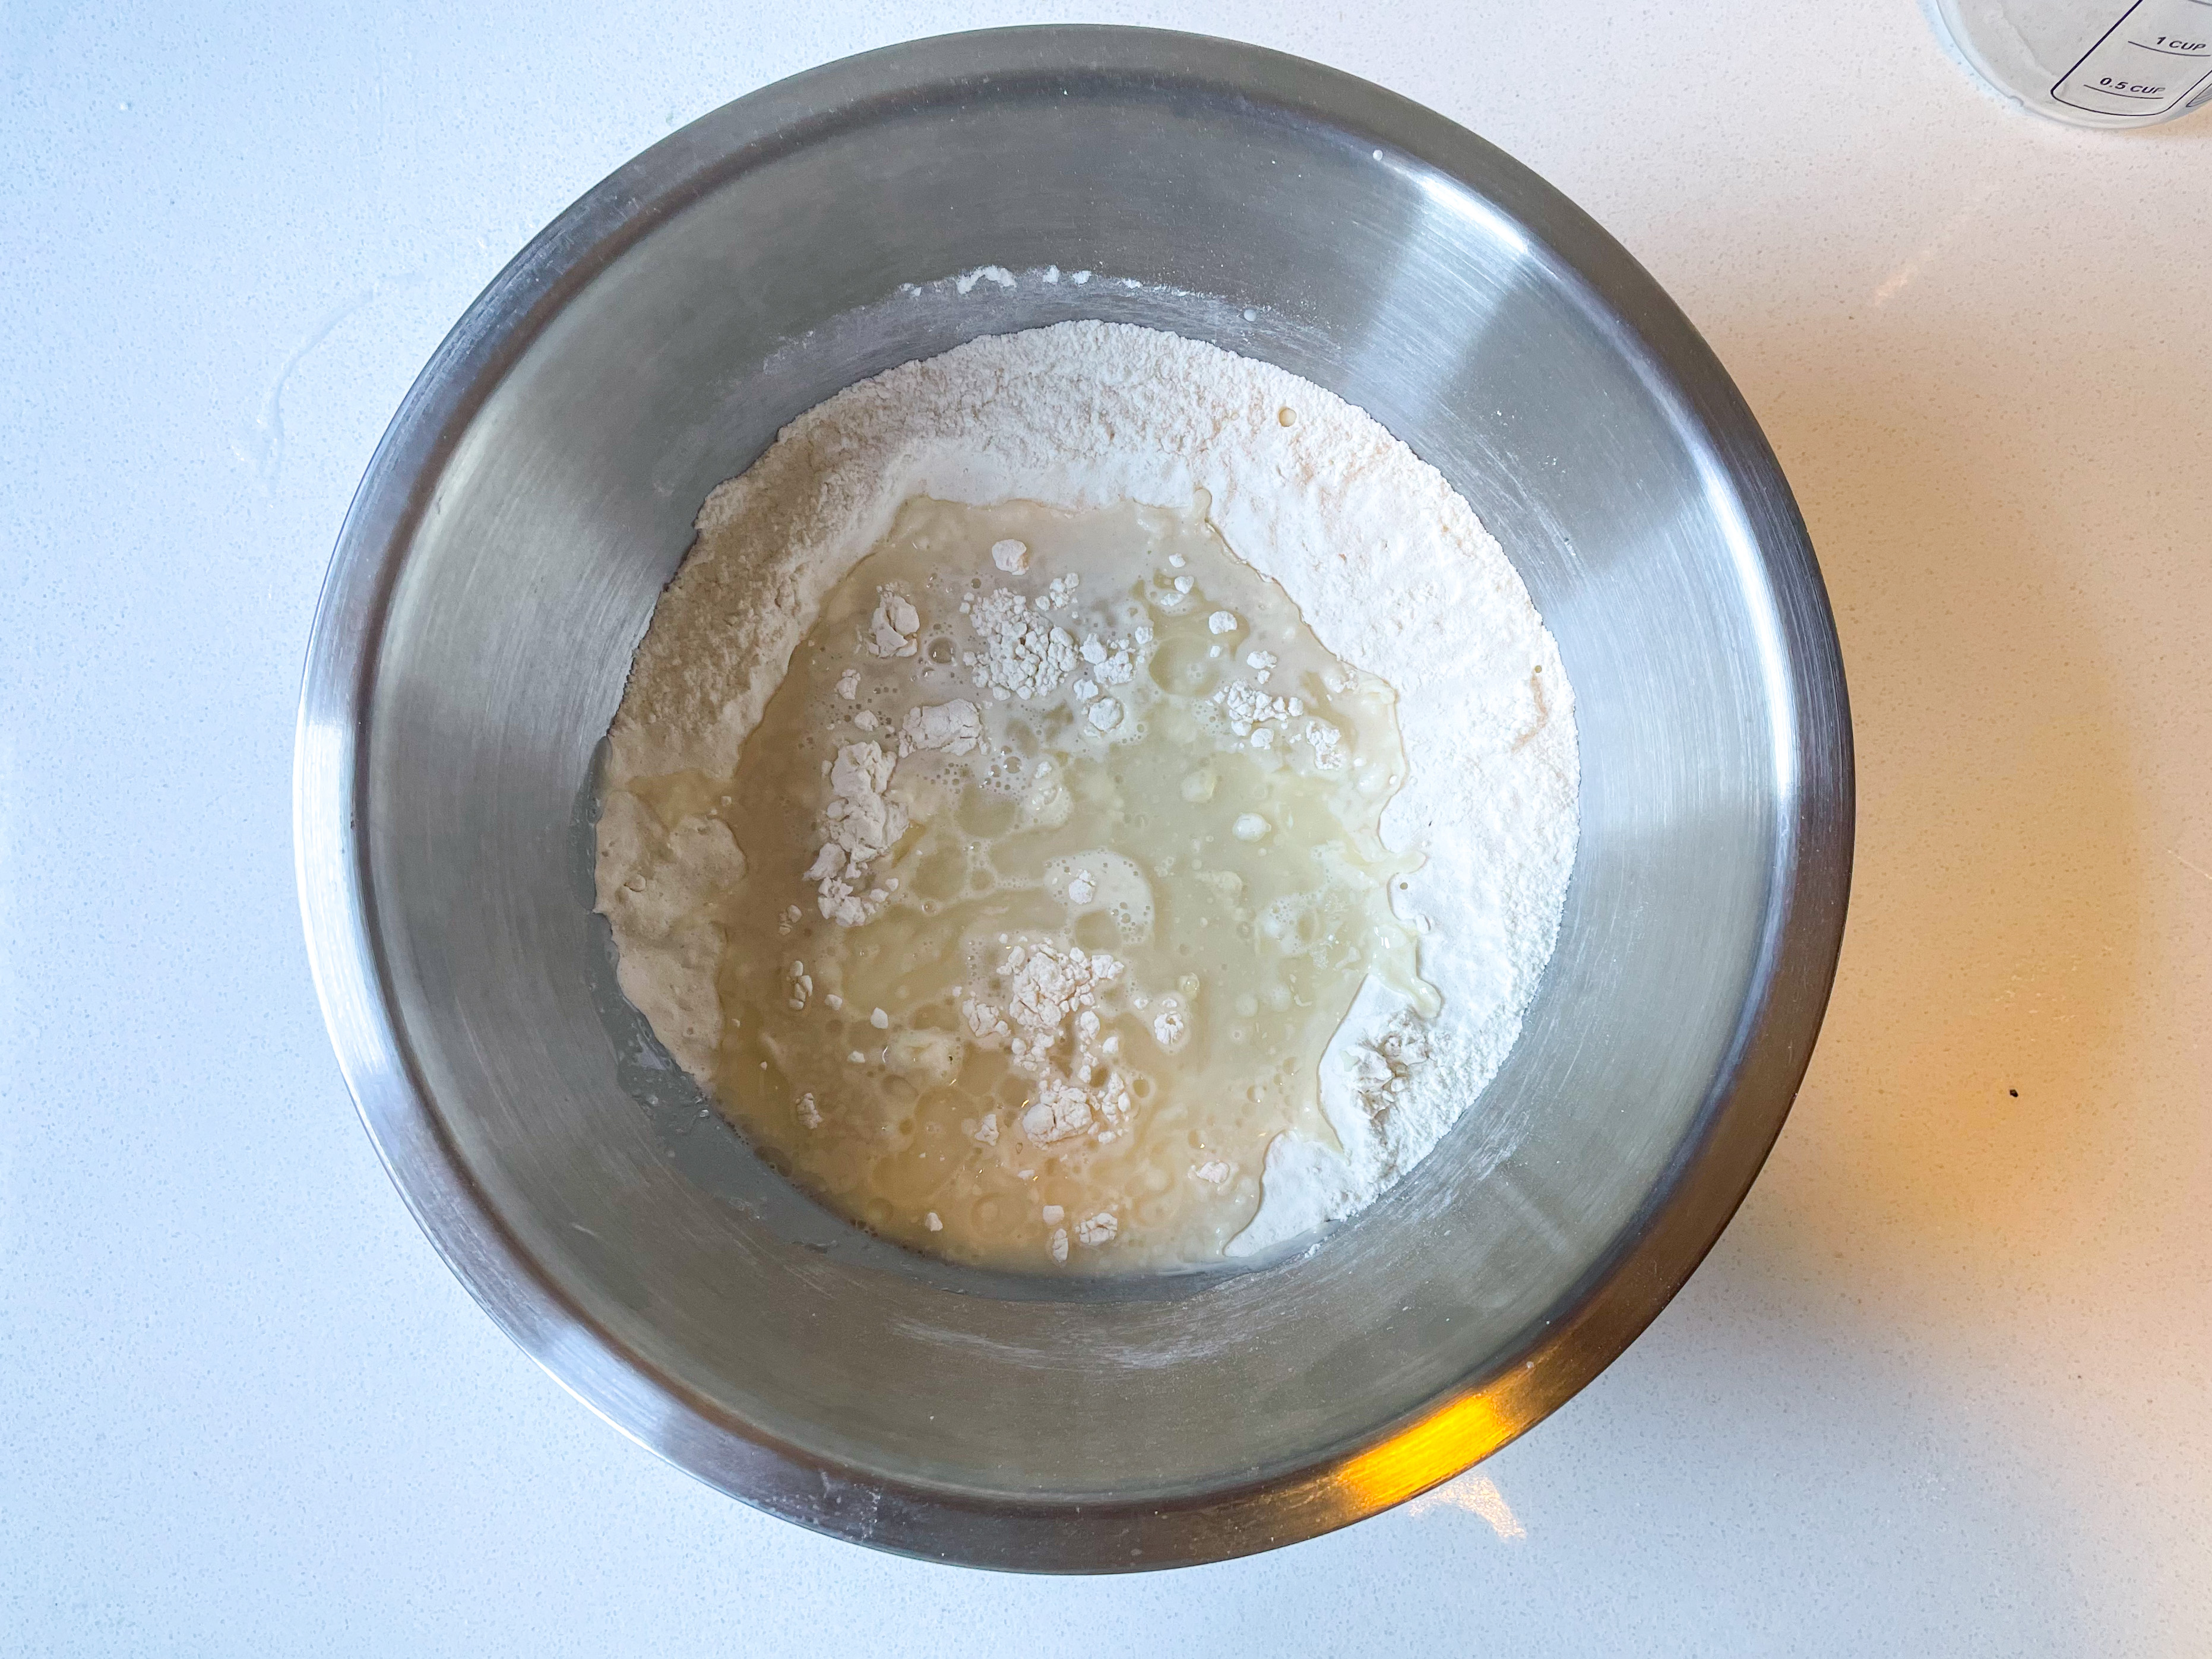
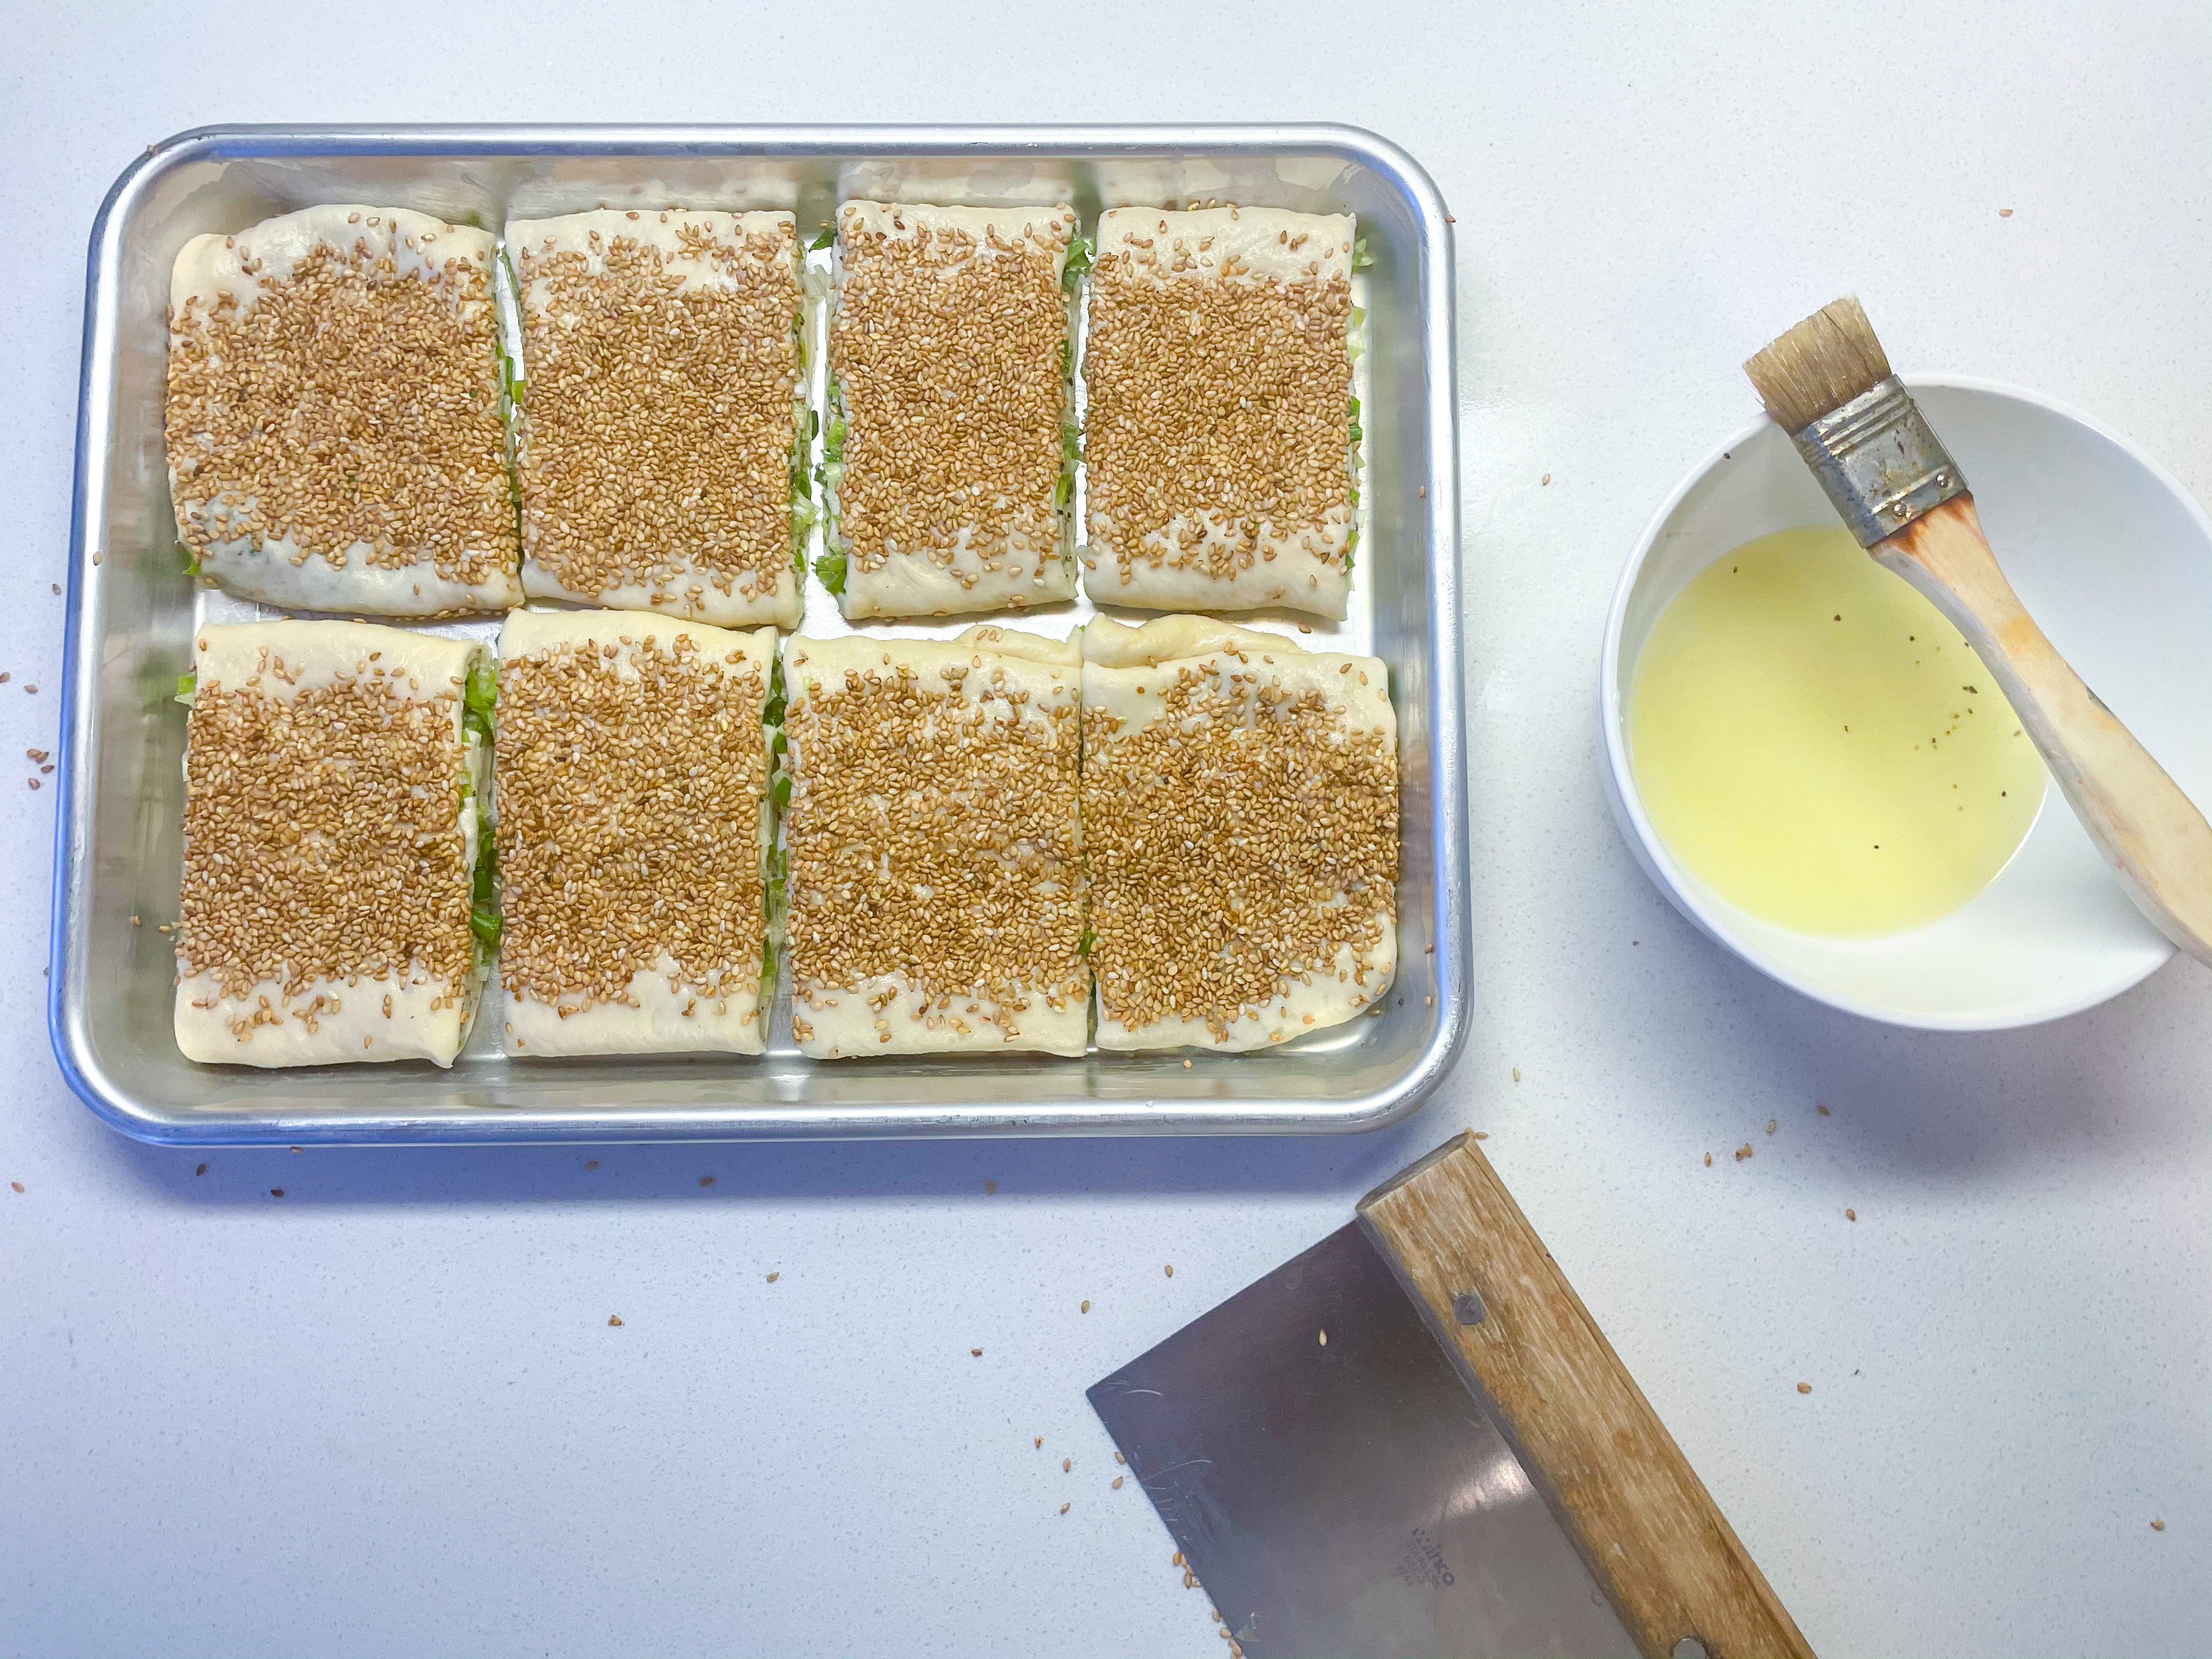
Memories, after all, aren’t photographic recollection, but rather constant creation. For my bing, this would be especially literal. If I couldn’t find a recipe, I would have to create one myself out of the proximal examples. In a video touring a Taipei diner, an old shopkeeper pulls the dough in a long coil, shaping the laminations of spice and onion. On one blog, a recipe for da bing adds rice flour to the dough, to lend chewiness without toughness. On another, a recipe for cong juan calls for the top to be brushed with simple syrup, to carmelize into a golden brown while baking. The midpoint between all of these yielded something new—an imperfect recreation of the bing at the corner of Nanshan Road—but also something warm, peppery, and familiar.

Hujiao Bing (胡椒餅)
Yield: 8 bing
Time: 1 hours active, 6 hours passive
Specialty Equipment
Quarter Sheet Pan 1
For the Dough
  • 350 g all-purpose flour
  • 50 g glutinous rice flour
  • 220 g warm water
  • 3 tbsp vegetable oil
  • 2 tbsp sugar
  • 2 tsp salt
  • 1/2 tsp dry active yeast
For the Filling 2
  • 100 g scallions, finely chopped (roughly two bunches)
  • 4 tbsp vegetable shortening, melted 3
  • 1 tbsp black pepper, ground
  • 1/3 cup sesame seeds
  • 1 tsp simple syrup
Step 1. Activate the yeast
Mix a couple of spoonfuls of the flour with the yeast, and combine with the warm water to make a thin slurry. Let this sit until bubbles start to form in roughly 10 minutes.
Step 2. Make the dough 4

Combine the slurry with the other ingredients, and then knead the dough by hand for roughly 10 minutes, until the dough is very smooth and stretchy. Place the dough inside a lightly oiled work-bowl, large enough to accommodate a doubling in size.

Cover and seal the bowl with plastic wrap, and leave at room temperature to rise for four hours, or in the fridge overnight. If you’re in a rush, the dough can be set in a very warm spot to complete the rise in as little as an hour and a half.

Step 3. Roll out the dough 5

Preheat the oven to 425°F.

The dough is ready once it has doubled in size. Punch it down to deflate, and then turn it out onto a lightly oiled surface. We need to form the dough into a rough rectangle: Flatten it by hand; tri-fold the dough horizontally like a letter; and finally flatten and trifold again in the opposite direction.

You’re now ready to flatten the dough. Roll the dough to a rough 8” by 18” rectangle. The exact measurements don’t matter since the dough will continue to be shaped and stretched later.

Step 4. Fill and laminate the dough
Brush the sheet of dough with melted shortening, then sprinkle with black pepper and scallions. It should seem excessively covered with scallion. Roll to form a long log, and all the filling should be enveloped.
Step 5. Shape the bing 6
With the seam facing down toward the surface, start stretching the dough to its final length. Stretch the dough interval by interval along the length of the dough. The end result should be roughly 24” long.
Step 6. Finishing touches

Flatten the rolls to be 4” wide: This will define the final dimensions of the bing. Brush the top with the simple syrup, then sprinkle with the sesame seeds. Gently press the seed in with your fingers. Finally, brush on another coat of melted shortening.

Trim the two ends if they’re irregular, and then cut the dough into 3” wide bing. Set them on a greased sheet pan with the edges barely touching each other.

Step 7. Baking

Bake in a 425°F oven on the top shelf for 20 minutes. If you have a broiler setting, you can finish the last 5 minutes on high, to bring the top to a deep, golden color.

Transfer to a cooling rack, and let it rest for 10-30 minutes before eating. I’d recommend splitting it in half and turning it into an egg sandwich, but there’s really no wrong way to eat it.

Notes
1. If you don’t have a quarter sheet pan, you can use a baking dish or just arrange the bing on half of a regular baking sheet.
2. All of the fillings are a rough ballpark. You can scale up or down to taste.
3. Lard and other animal fats will taste better if you’ve got them, and you can use vegetable oil, in a pinch.
4. While it’s tempting to skip the manual work and use a no-knead approach, it’s important that the dough is bouncy and stretchy before we start the rise. As the yeasts start producing carbon dioxide, we need a well-developed gluten matrix to trap and isolate the gases. Otherwise, the bubbles aggregate together, resulting in cavernous, airy interiors more akin to a baguette or focaccia.
5. When I first started baking, I was confused by why we deflated the dough—didn’t we just spend all this time getting it to rise? This came from a misunderstanding about the purpose of yeast: Strictly speaking, they aren’t here to directly provide the volume, but rather speckle the dough with billions of microscopic bubbles. In the oven, the sudden vaporization of water and alcohol inflates these bubbles like a balloon, and it’s this steam that provides the volume and lift for the final baked good. Controlling the distribution and size of these bubbles is how we control the final texture. Deflating and folding the dough prevents any uneven gas distribution from fermentation.
6. If the dough feels like it’s going to snap, let it rest for 10-15 minutes to loosen up.